Move your data from a Windows PC to your Mac
Use Windows Migration Assistant to transfer your music, pictures, documents, and other data from a Windows PC to your Mac.
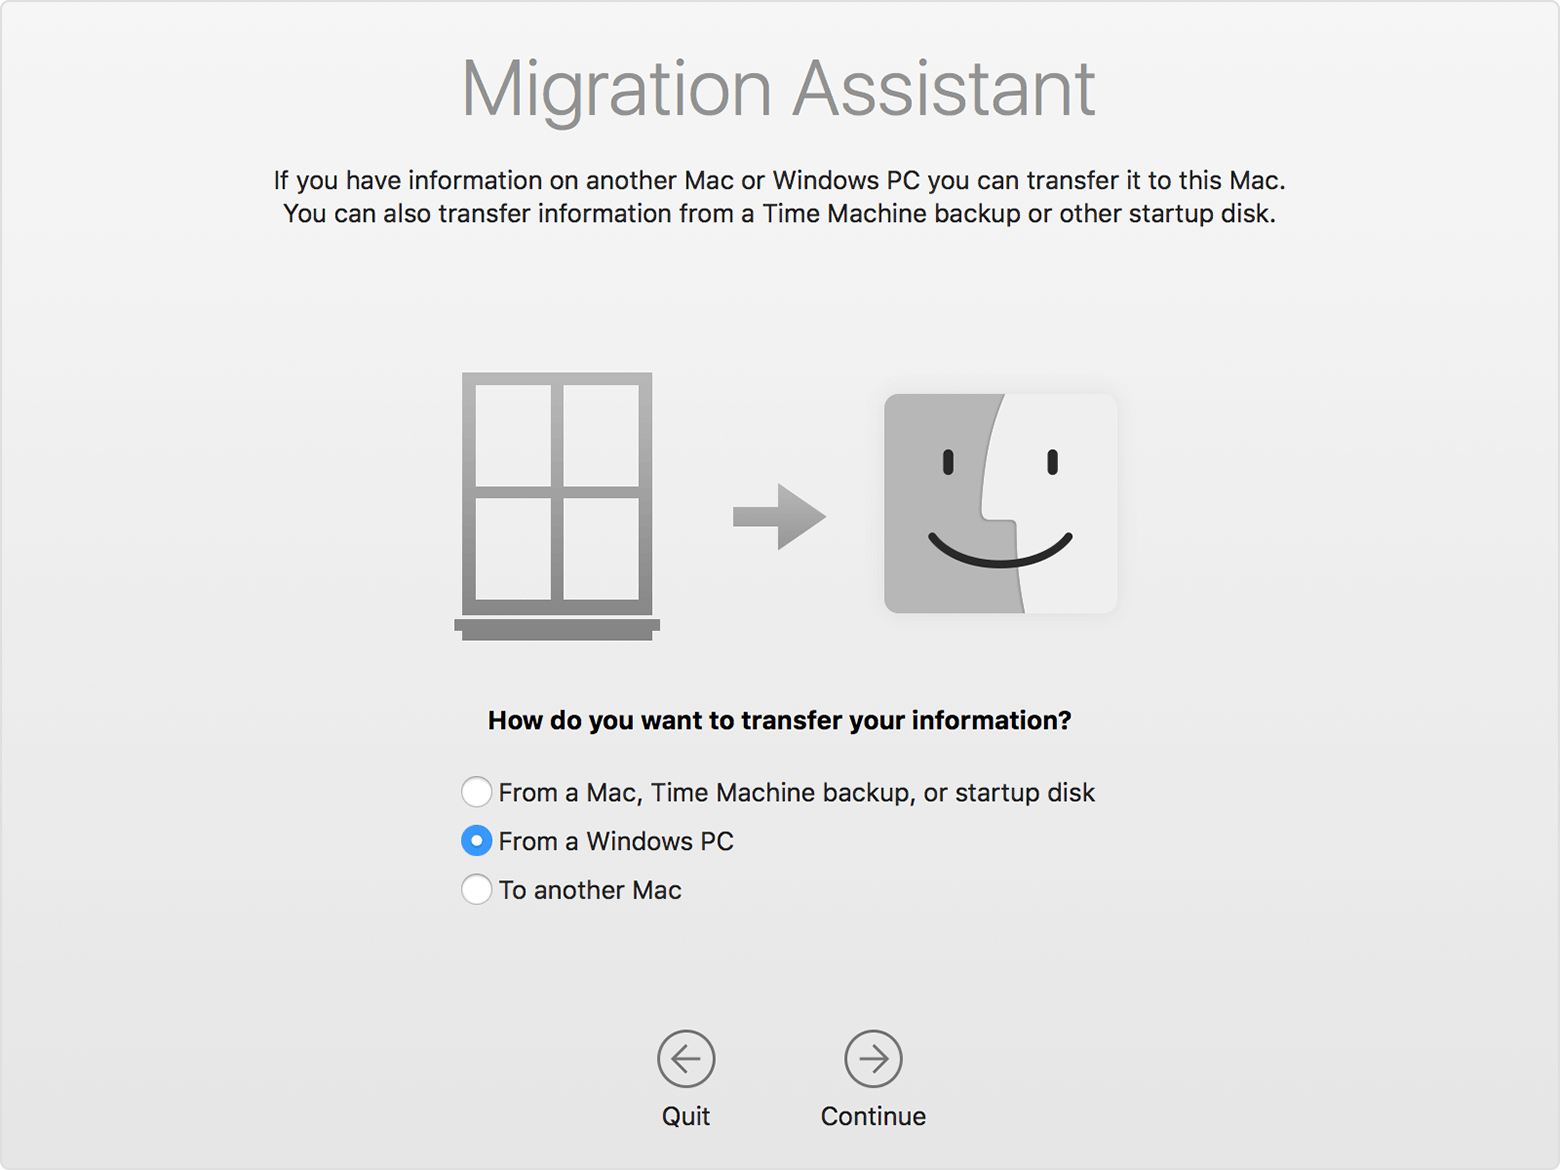
Windows Migration Assistant transfers your contacts, calendars, email accounts, and more from a PC. It migrates this data to the appropriate places on your Mac.
After you migrate data to your Mac, be sure to authorize your Mac in iTunes. It’s important to authorize before you sync or play content that you download from the iTunes Store.
Before you begin
To prepare for a smooth migration:
- Make sure that Windows is up to date. Migration Assistant works with Windows XP and later.
- Make sure that you know the name and password of an administrator account on your PC.
- Connect your Mac and PC to the same network, such as your home Wi-Fi network. Or connect an Ethernet cable between the ports on your Mac and PC to create a direct network connection.
- Use the check disk (chkdsk) utility on your PC to make sure that your Windows drive doesn’t have any issues.
To run the check disk utility:
- Choose Start > Run.
- In the Run window, type cmd and press Enter.
- In the command window, type chkdsk and press Enter.
- If the check disk utility reports that it found problems, type chkdsk drive : /F and press Enter. In this example, “drive” is the letter that represents your Windows startup disk, like “d.” At the prompt, press the Y key, then restart your PC. Repeat this process until the check disk utility reports no issues.
Can you clear all of the disk issues that the check disk utility reports? If not, you might need to have your PC serviced. Then migrate your data to your Mac.

Move your data
This section guides you through migration, post-migration, and what to do if the steps don’t work for you.
How to move your information from a PC to your Mac
- On your PC, download and install the Windows Migration Assistant.
- Windows Migration Assistant for macOS Sierra
- Windows Migration Assistant for OS X El Capitan or earlier
- Quit any open Windows apps.
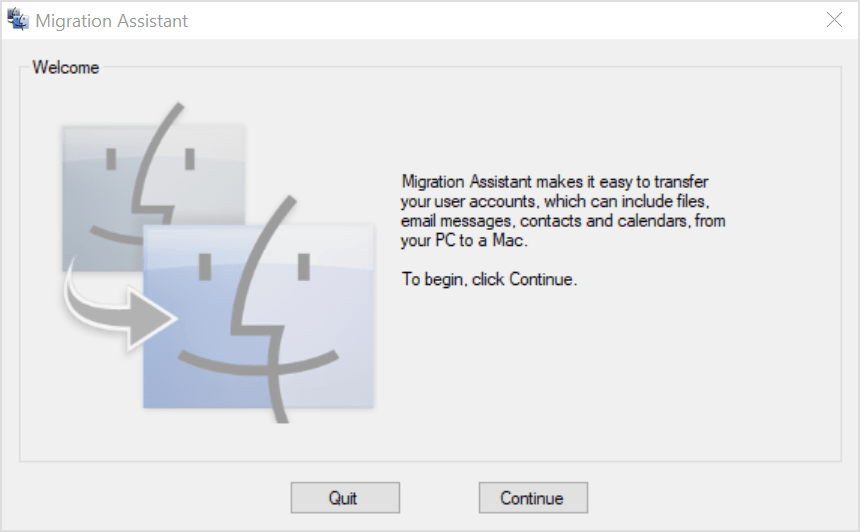
- Open Windows Migration Assistant.
- In the Migration Assistant window, click Continue to start the process.
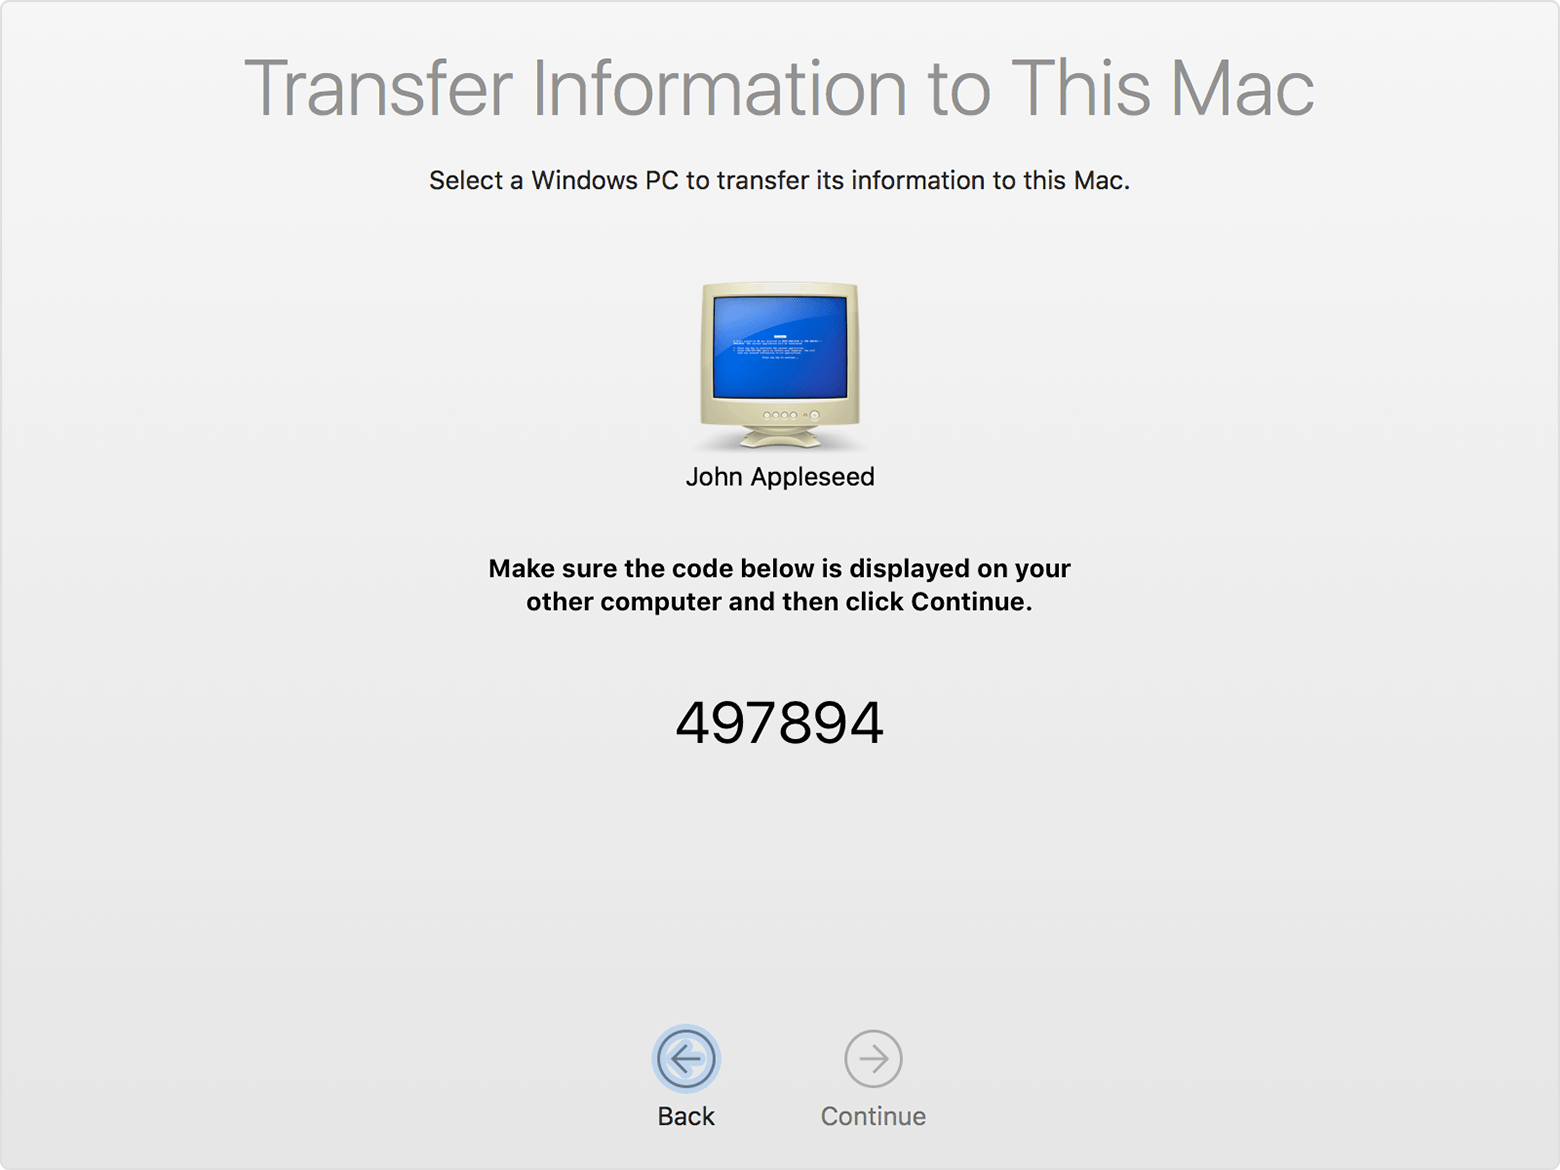
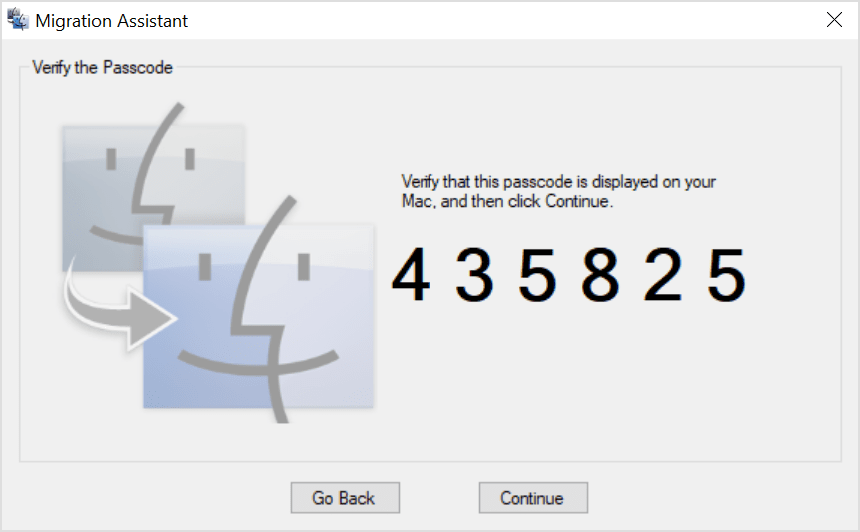
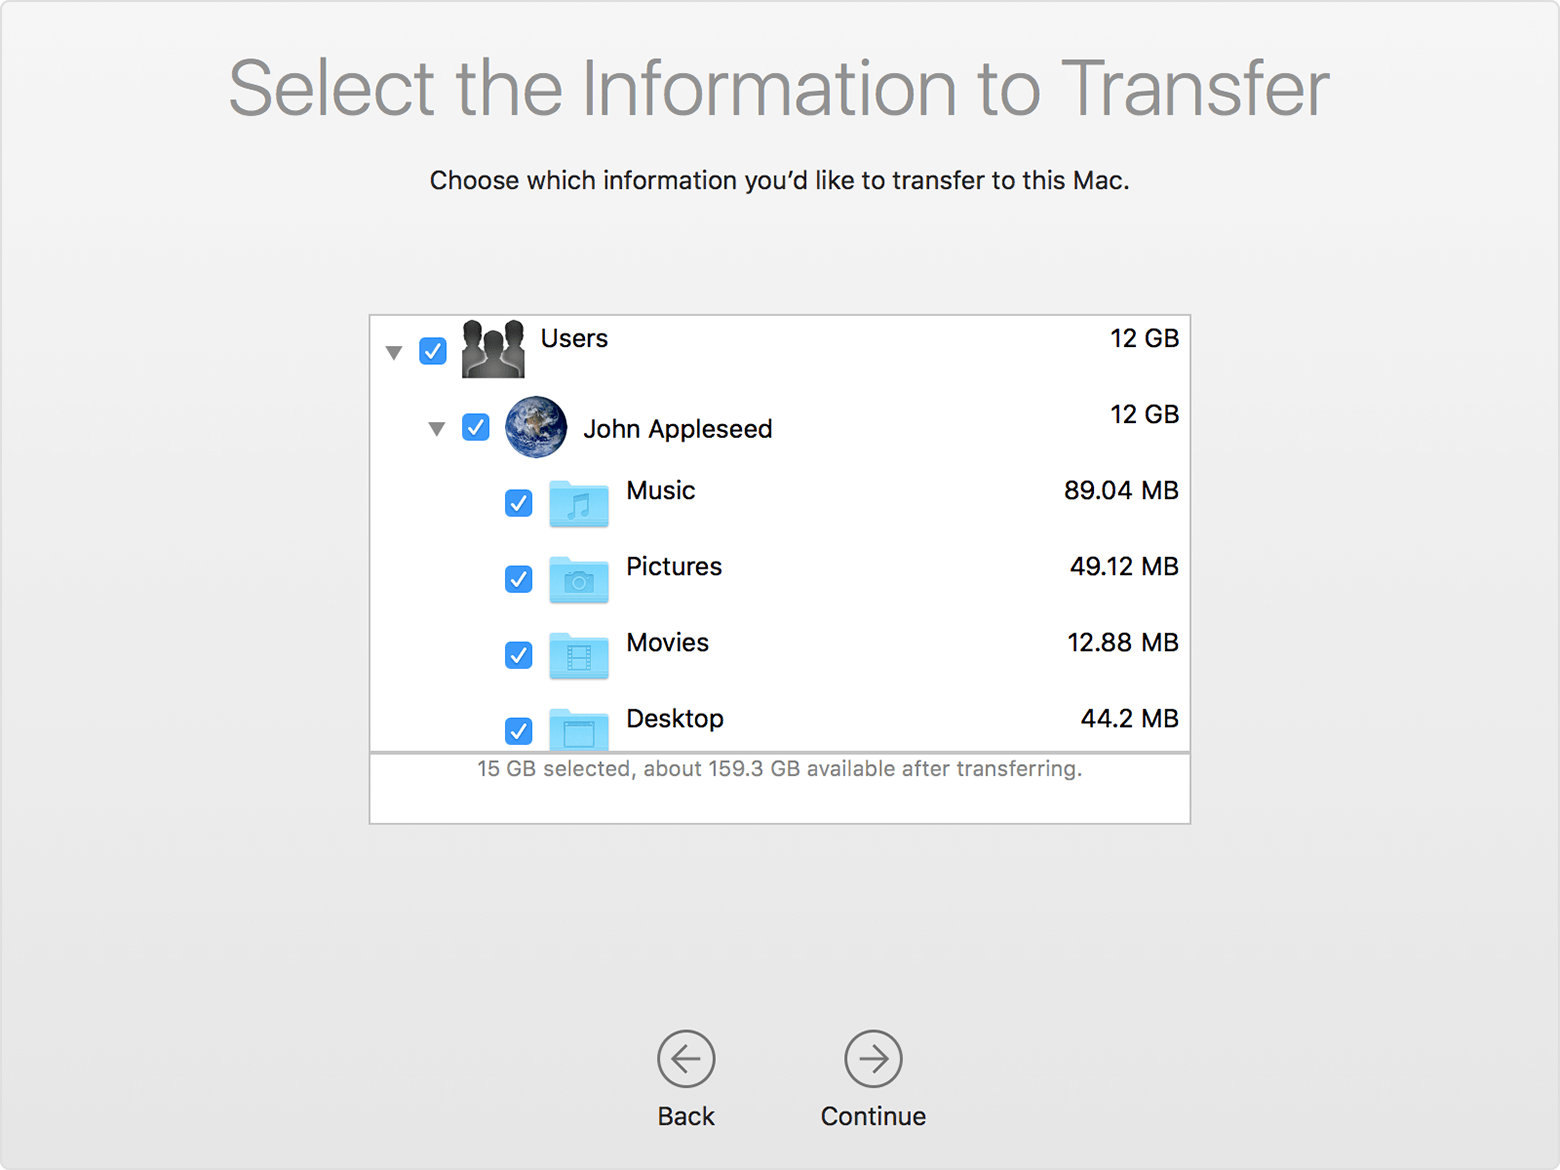
You can watch the progress and estimated time remaining on both the PC and your Mac. They tell you when migration is complete.
After you move your data
When migration completes, close Windows Migration Assistant on your PC. Then log in to the new user account on your Mac. The first time you log in to a user account that’s migrated from a PC, you’re asked to set a password. You can use the same password that you used on your PC, or create a new password. Learn how to choose a good password.
Once you’re logged in to the user account that you migrated, be sure to authorize your Mac in iTunes. It’s important to authorize before you sync or play content that you download from the iTunes Store.
If you have issues moving your data
If the steps above don’t work as you expect, try these options.
Quit other Windows apps
Use these steps to make sure that no other apps are open while you migrate:
- Press Alt-Tab to choose an open application.
- Press Alt-F4 to quit the selected application.
Check your network connection
Does your PC appear in the Setup Assistant or Migration Assistant window on your Mac? If not, make sure that the computers are connected to the same network. You can create an isolated network if you connect a single Ethernet cable between your Mac and PC.
If Migration Assistant still doesn’t show your PC, try to turn off any Firewall software on your PC. It might block network ports that Windows Migration Assistant needs to work. After migration completes, you can turn on your Firewall software.
Turn off antivirus software
If Migration Assistant doesn’t open on your PC, turn off any antivirus software on your PC. Then try to open Migration Assistant again. After migration completes, you can turn on your antivirus software.
If your PC isn’t compatible with Migration Assistant
There are other options you can use to transfer your data. For example, you can use an external drive or file sharing to manually copy important data to your Mac.
What data can I transfer?
Migration Assistant lets you choose the data to move to your Mac. Here’s what moves over for specific apps and data types:
Email, contacts, and calendar information
- People move to Contacts*
- Appointments move to Calendar
- IMAP and Exchange settings and messages move to Mail
- POP settings and messages move to Mail*
Migration Assistant doesn’t support 64-bit versions of Outlook. You can manually migrate Mail, Contacts, or Calendars from Outlook 2013 or Outlook 2016 by signing in and entering the content on your Mac manually.
Photos and other images copy to your Home folder. You can add these files to Photos. After you migrate, open Photos and let it search your Mac for photos to import.
- Files from the top-level folder of the currently logged-in PC user’s home directory
- Non-system files located in the Windows or Program Files folders
- Top-level folders located on the user’s Windows system disk
- Top-level folders located on other local disks attached to your PC
- People move to Contacts
- IMAP settings and messages move to Mail
- POP settings and messages move to Mail*
Windows Live Mail
- IMAP settings and messages move to Mail
- POP settings and messages move to Mail*
- IMAP settings and messages move to Mail
- POP settings and messages move to Mail*
- People move to Contacts
*Migration Assistant transfers only the Mail or Contacts data that belongs to the logged-in Windows user. To transfer data from another user account, use Migration Assistant again while you’re logged in to another Windows account. Each time you migrate, your Mac creates a new user account.
Information about products not manufactured by Apple, or independent websites not controlled or tested by Apple, is provided without recommendation or endorsement. Apple assumes no responsibility with regard to the selection, performance, or use of third-party websites or products. Apple makes no representations regarding third-party website accuracy or reliability. Risks are inherent in the use of the Internet. Contact the vendor for additional information. Other company and product names may be trademarks of their respective owners.


Комментариев нет:
Отправить комментарий